
We have already walked through the steps on how to manually configure a NAV demo virtual machine in Azure, including how to connect to and initialize the new virtual machine. Today we will test the setup and connections.
Test the NAV Client
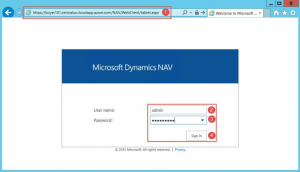
- Double click on the NAV 2016 Windows Client icon, on the desktop.
- If you accepted the default user name, enter “admin” in the User name field.
- If you accepted the default password, enter “P@ssword1” in the Password field.
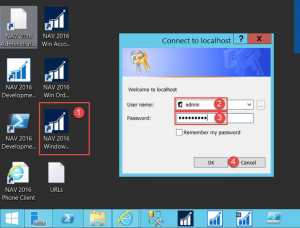
If the client opens, then NAV is up and running.
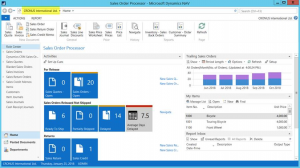
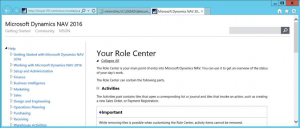
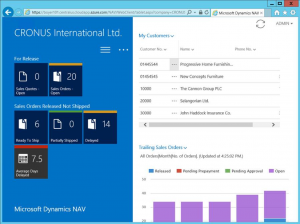
Test the Help Menu
- Click on the Help button.
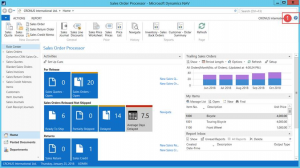
If the Your Role Center page comes up, then the help server is up and running.
Test the Tablet Client
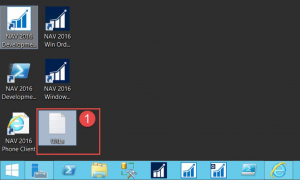
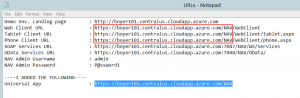
- On the virtual machine’s desktop, find and double click on the URLs text file (This is one of the many files that was created and added to the virtual machine desktop when you ran Initialize Virtual Machine PowerShell script).
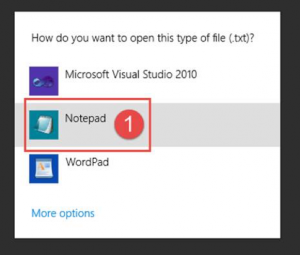
- Click on the Notepad option when asked which application you want to use to open the file.
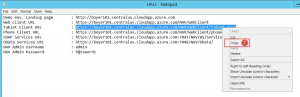
- Highlight and copy the Tablet Client URL.
- Open up Internet Explorer (while working on the virtual machine), paste the URL into the address bar, and hit Enter.
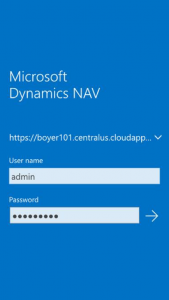
- Enter the User Name — the value will be “admin” if you accepted the default value when running the PowerShell script above.
- Enter the Password — the value will be “P@ssword1” if you accepted the default value.
- Click the Sign In button.
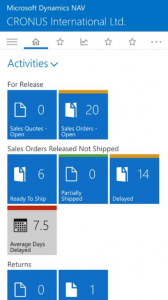
If you see the following, it’s up and running:
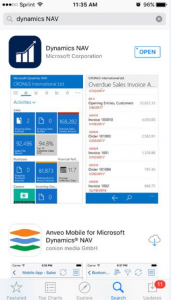
Test the Dynamics NAV Universal App
- Download the Dynamics NAV application from whatever app store is appropriate for your device. I’ve got an iPhone, so I downloaded it from the App Store.
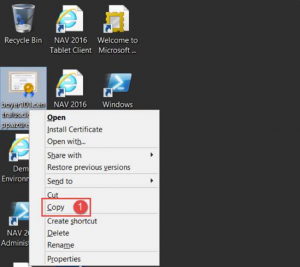
- Next, I needed to install the self-signed security certificate on my iPhone. To do this I copied the self-signed certificate file (found on the desktop of the virtual machine), pasted it into an email addressed to myself, opened the email on my iPhone, and installed the certificate on my phone.
Here is the self-signed security certificate on the virtual machine desktop:
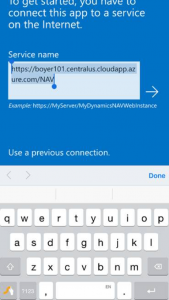
- In order to connect your device’s universal app to the new virtual machine’s NAV service, you’ll need to know the service name’s address. I’ve added the service name address to my URL’s text file. Take a look at the URL I added. You should be able to figure out the pattern and determine what your service name is based on the following:
- For my iPhone, I input the service name address, enter my credentials, and was then connected.
Have fun!