
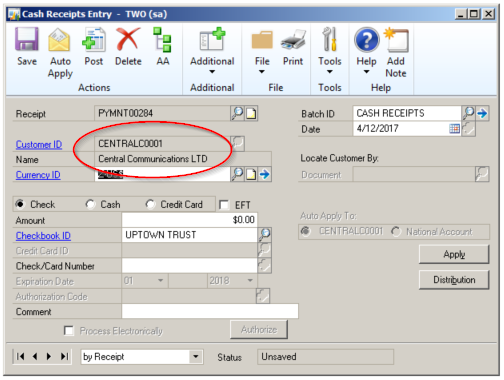
Entering cash receipts into Microsoft Dynamics GP can be quick and easy, even with limited information accompanying the cash receipt. The following are 3 tips associated with entering cash receipts.
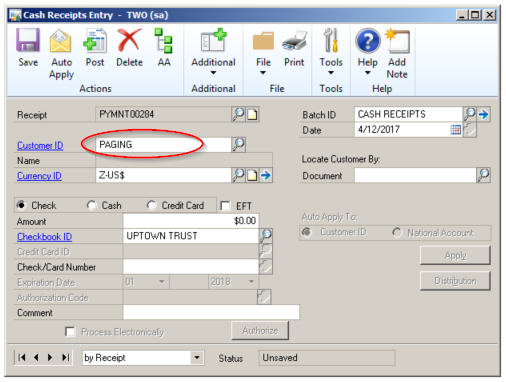
1. Finding a customer with a partial customer name
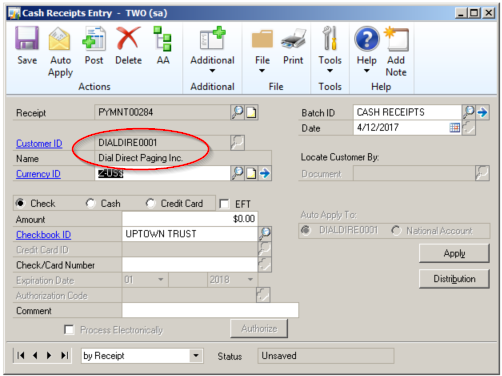
I recommend purchasing the SmartFill product from Rockton Software. With SmartFill, you just type in whatever you know about the customer name into the search bar. SmartFill will return any matches it finds. If there is only one match, that record is retrieved and filled into the Customer ID field. In my example, I simply entered PAGING…
and SmartFill returned Direct Dial Paging, Inc.
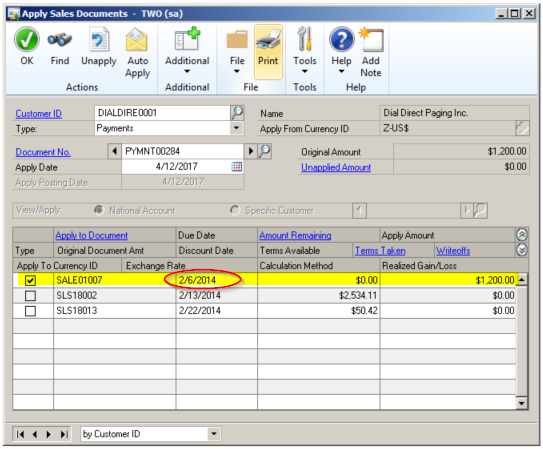
2. Using the Auto Apply button
In the Receivables Setup Window, you can choose how the Auto Apply button will display the cash receipts, to the oldest due date or the lowest document number. In my system, I have chosen to apply by Due Date. In the example above, after entering the cash receipt and clicking the Auto Apply button, the cash was applied to the oldest due date.
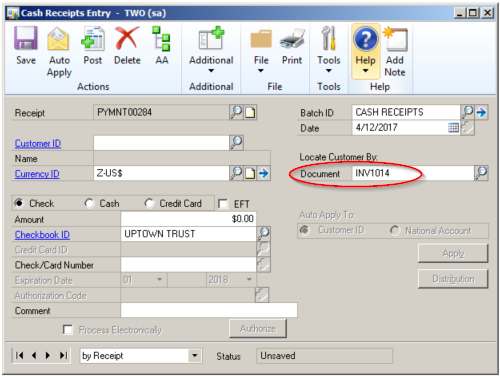
3. Finding a customer with an invoice number
When you are uncertain about the customer (e.g., maybe someone else is paying the invoice on their behalf), you can simply enter the invoice number being paid (or look it up) and the system will find the customer associated with the invoice and fill them into the Customer ID field. See example below.
You can see these three cash receipt tips in the short video on our website.
For additional tips and tricks regarding Dynamics GP and ERP products, subscribe to our blog.